How to Upload a Picture to Indesig

What do printed magazines, journals and catalogues have in common? They all have a layout comprised of text and images. Adobe InDesign provides the right tools to correctly align and position these two components. In our tutorial, you will learn how to insert, manage and check images in InDesign.
In InDesign, text can easily be inserted via copy and paste. With images, this is a chip more than complicated. Before images are displayed in InDesign, they have to be imported into the certificate. Unlike inserting images in Photoshop, InDesign does not insert them as rasterised graphics. If yous insert images in InDesign, the program creates a link to the epitome source. This is to assure that the image is always used in the latest version and in maximum quality.
Contents:
- Inserting images in InDesign using graphics frames
- Shortcuts: creating multiple graphics frames
- Inserting and adjusting images
- Checking and managing links
Inserting images in InDesign using frame tools
InDesign displays images in the certificate with graphics frames. Call back of this frame as a small box which contains the imported paradigm. This has the advantage that the graphics frame and the image can exist edited and manipulated independently of each other. To create a graphics frame, click theFrame Tool in thetoolbar and elevate out a frame. This tool is represented past an icon with a rectangle and a cross in it.
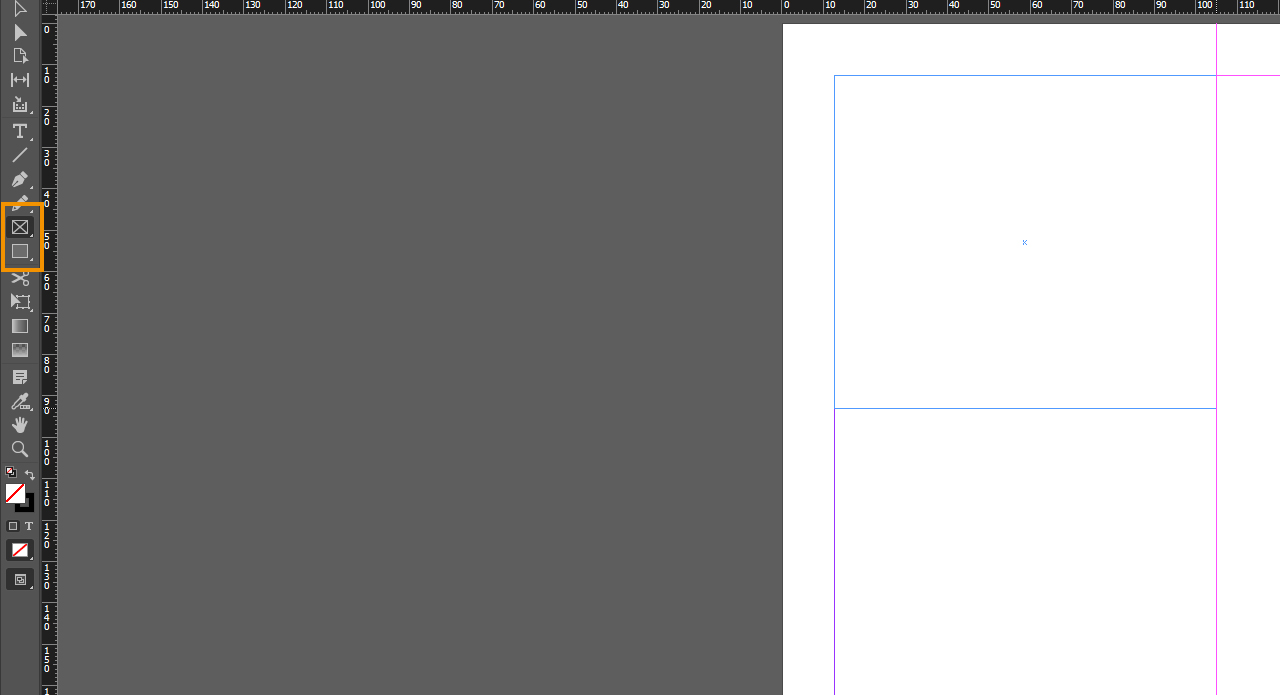
Did you lot know? Y'all can also apply the Rectangle Frame Tool to insert images in InDesign. This is represented by a rectangle icon without a cross. It is located in the toolbar directly below the Graphics Frame Tool and its original purpose is to create coloured areas.
Creating ane or more than graphics frames
To create a graphics frame, drag out a frame to whatsoever size in your document holding the left mouse push button down. Employ the arrow keys to add more than frames which are distanced proportionally to each other.
To simultaneously elevate out 2 side-by-side frames, agree theleft mouse button down and press thecorrect arrow key. This adds another frame adjacent to the first ane. To vertically insert multiple graphics, press theleft mouse push and theup arrow central. Depending on how oftentimes you printing the arrow central, the corresponding number of frames will exist inserted one beneath the other.
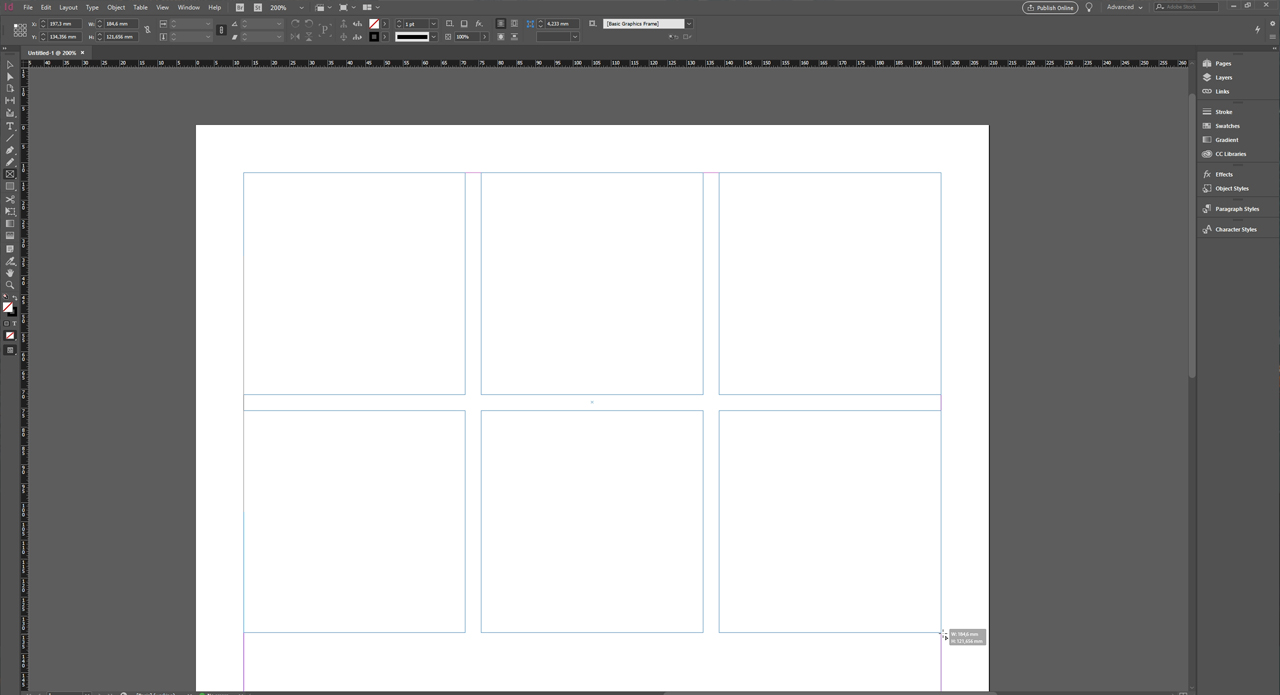
You tin besides reduce the additional frames again using the arrow keys. Simply click theleft arrow key to reduce the number of horizontal frames. Thedown arrow key reduces the number of graphic frames arranged ane below the other. Always brand certain to proceed theleft mouse button pressed whenever you add or remove frames.
To create square frames, additionally agree theShift key pressed when dragging the graphics frames. The frames will so be created at a previously defined distance to each other. This distance depends on the value that was defined as the column distance when setting upwardly the document.
Shortcuts at a glance
- Inserting multiple horizontal graphics or frames:
left mouse push button + upwards arrow key - Inserting multiple vertical graphics:
left mouse push + right arrow cardinal - Creating square frames:
left mouse push button + Shift key + up arrow fundamental or right arrow key
Inserting and placing graphics
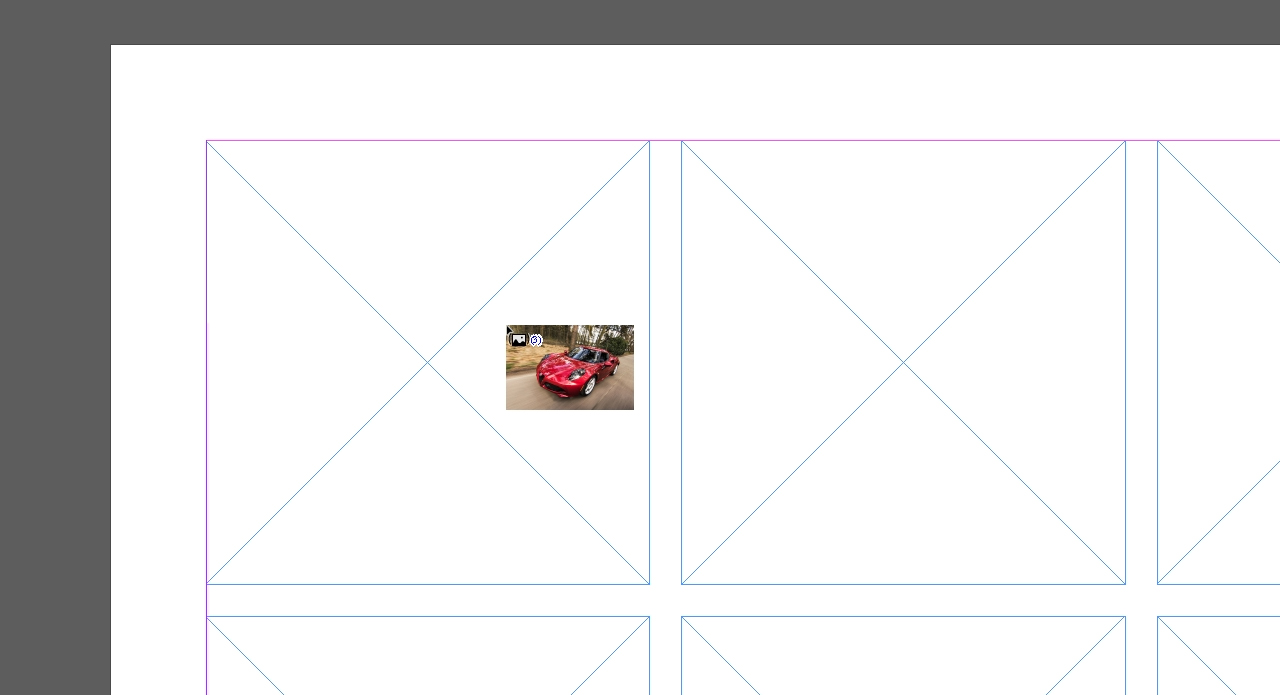
In InDesign, importing images is also referred to as "placing". To do and then, beginning click on a gratuitous infinite within your document. Make sure that no graphics frames are clicked or selected. Then pressCtrl+D and navigate to the image source in the window that opens. You tin can either insert images individually or import multiple images – as in our example. Click on the images you want to insert into your document and chooseOpen. The selected images are attached to the mouse pointer. Now you can place them one afterward the other by clicking on 1 graphics frame, respectively.
 Adjusting images inside the frame
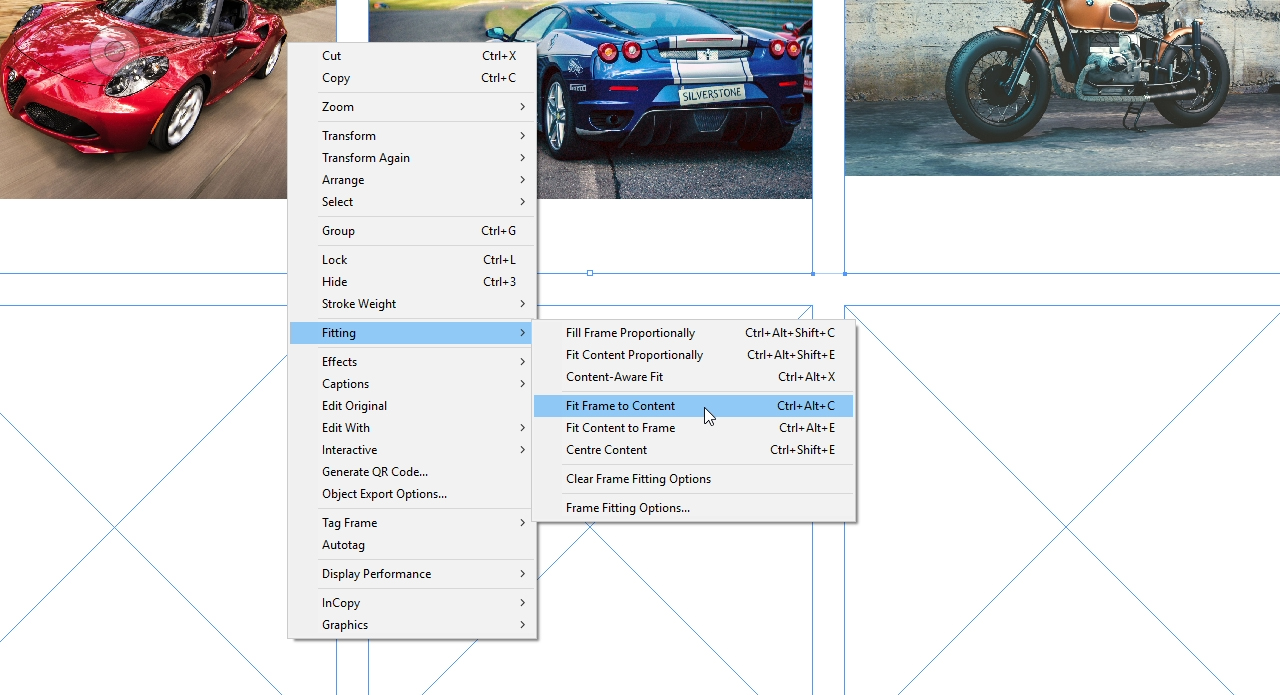
InDesign initially inserts imported images in their original size. Therefore, you but come across a greatly magnified section which is blurry. To adjust the images to the graphics frame you lot have created, click on the frames in question and press theright mouse button. TheFitting menu item provides various options to accommodate your images within the frame or to adjust the frame to your images.
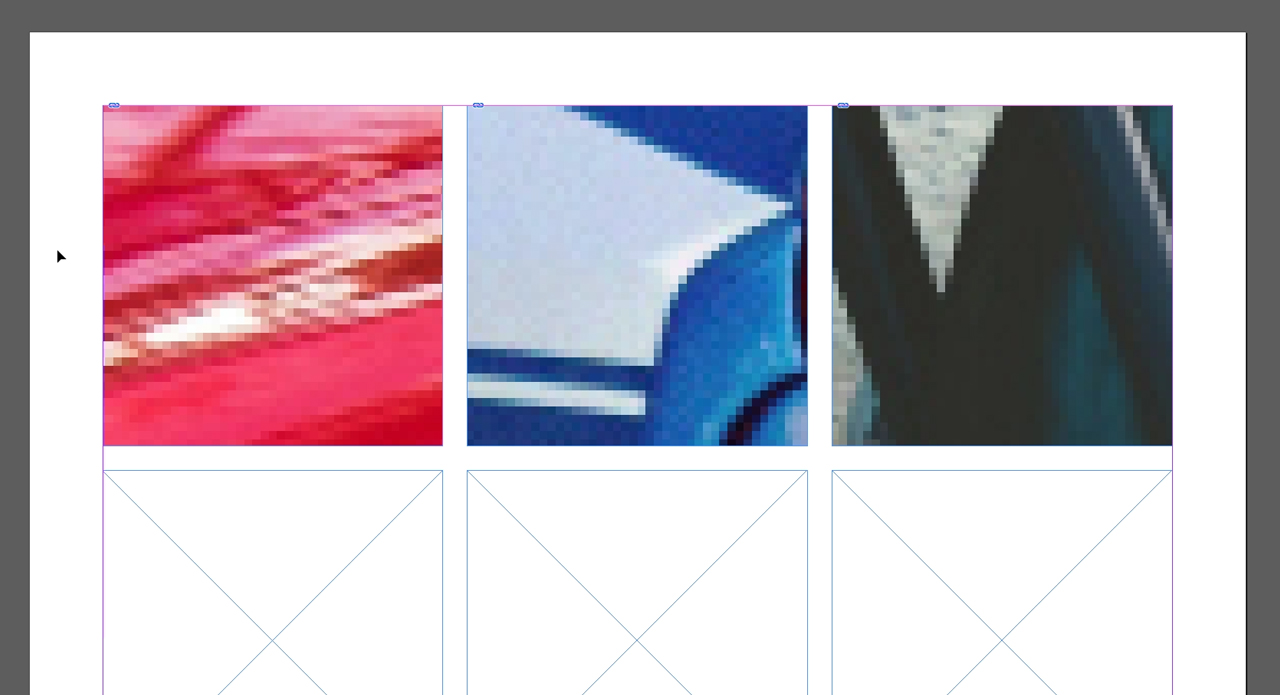
In the example, we beginning want the image to fit completely into the corresponding frame. To attain this, chooseFit Content Proportionally. Your images will be resized to fit the frame while preserving the paradigm proportions.
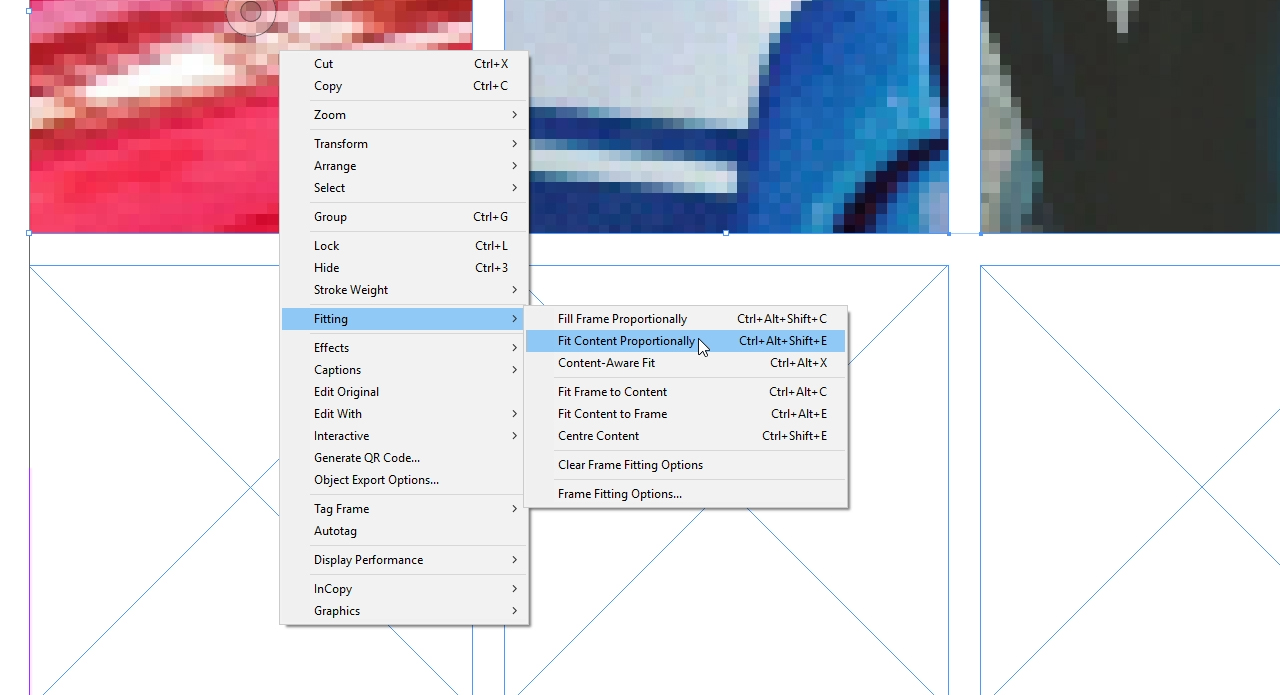
Later, click thecorrect mouse button again and cullFitting →Fit Frame to Content. You have thus placed your images and the image size is the same as the size of the frame.
In some cases, the image may still be pixelated after fitting. This is usually a affair of making the correct settings. When importing images, InDesign uses a preview and you lot will meet low-resolution images past default. To display your images in total resolution, select them and press theright mouse button over again. Next chooseBrandish Performance →Loftier Quality. If your paradigm notwithstanding appears pixelated later on this, the resolution of the image itself is too low.
Tip: You tin can alter the display performance not only for individual images only for the entire document. Choose the Display tab in the menu and click Display Operation. Here yous can cull to display the information in your file in fast, normal and high quality.
Inserting images: the link must be correct
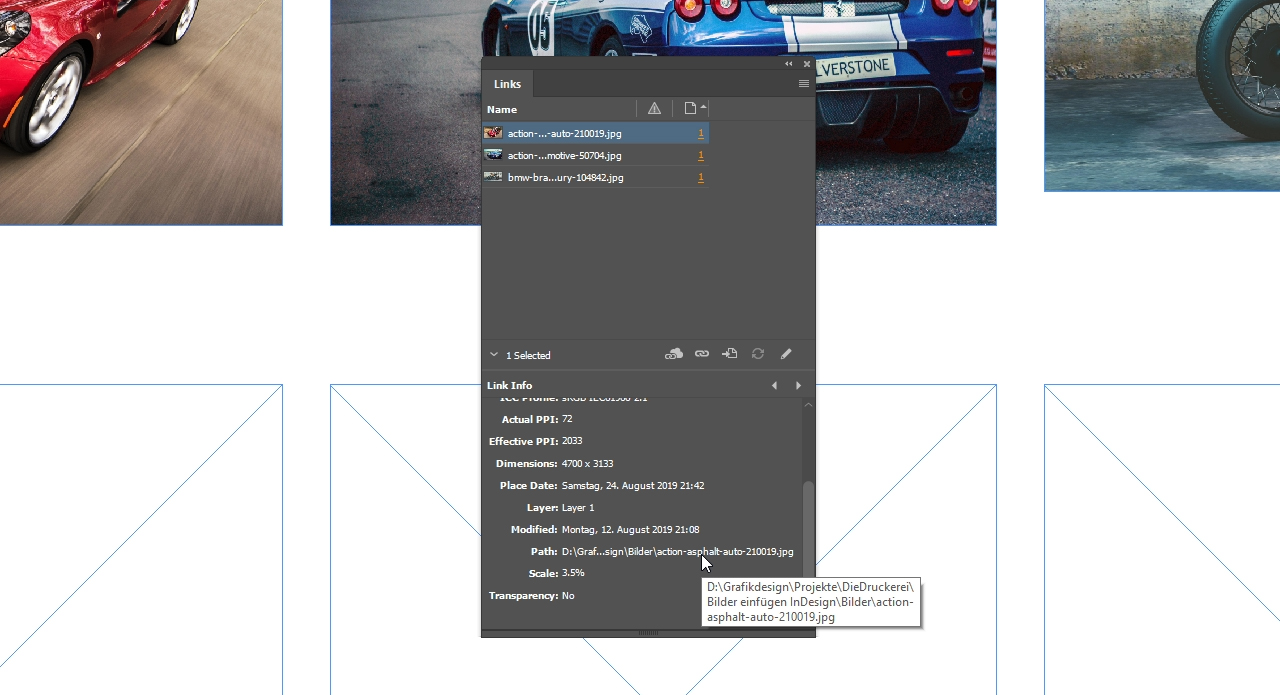
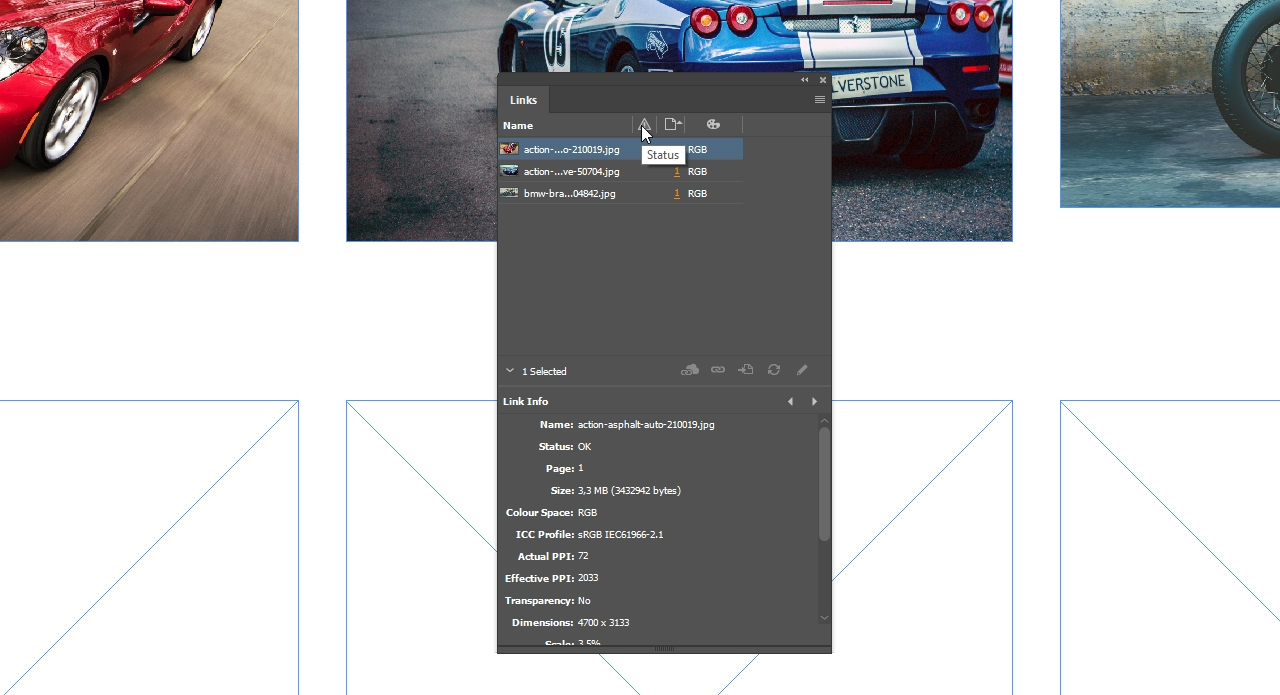
When inserting images into InDesign, the images are displayed via links to the respective storage location for quality reasons. You tin easily check and manage the epitome links. In InDesign, clickWindow in the upper menu and so cullLinks. A dialog box opens listing all images in the certificate too as the pages they are located on. Click on one of the images to see all relevant information such as the storage location, resolution or colour space. The latter is especially important for printing.
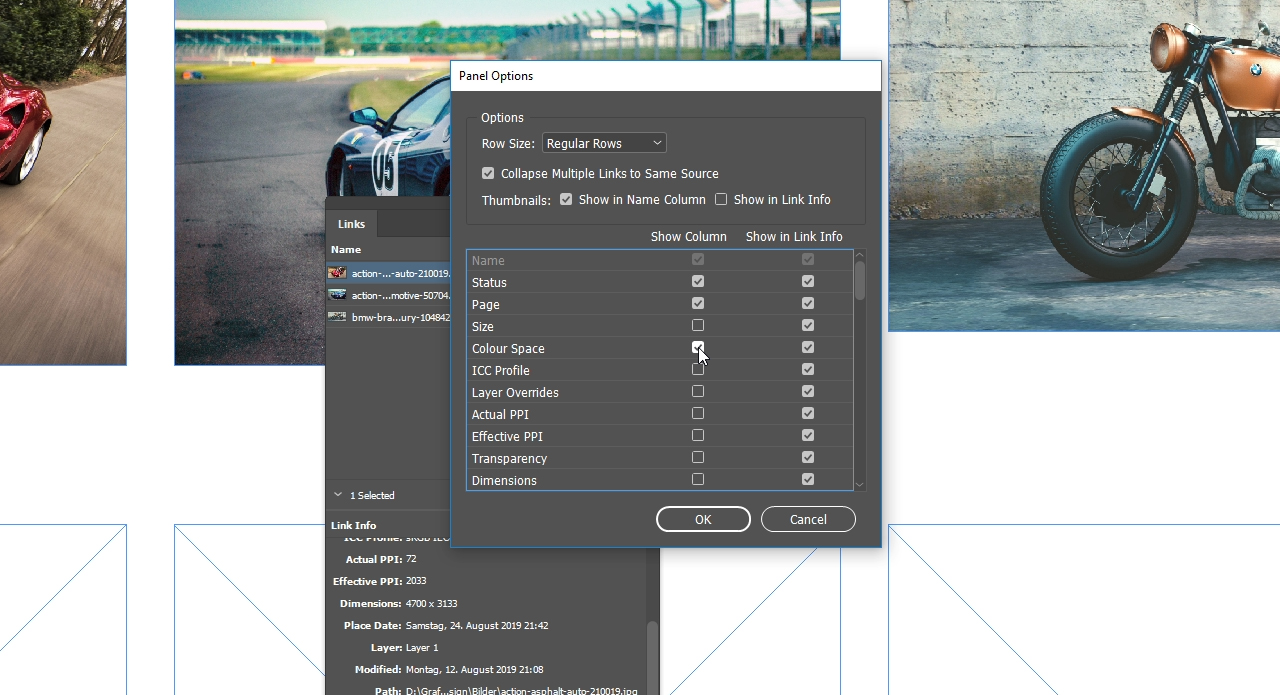
You lot can optimise the panel to see the color infinite of all images at a glance without clicking on the individual images. To practise then, click on the iv small-scale dashes in the meridian right corner of the Links panel and choosePanel Options. Now tick off the Color Space checkbox to display this choice straight in the dialog. This dialog box contains numerous other display options such as the path to the image source. Cull what is relevant for your purpose.
 Checking links for impress information
Before you write a impress-ready PDF from an InDesign file, for example, you lot should make sure that all the photos used in it are linked. To easily check this, the Links panel features a column with a warning triangle including a small exclamation mark.
If you see this exclamation mark backside 1 of your images, this means that the link to the image is missing or lost. Every bit a result, your image will no longer be displayed when exported to PDF or some other format.
Important annotation: Before exporting from InDesign, check the Links panel to brand certain that all links to your images are right.
Credits:
Speaker and designer: media designer Christoph Ullrich.
Source: https://www.onlineprinters.co.uk/magazine/indesign-insert-images/
0 Response to "How to Upload a Picture to Indesig"
إرسال تعليق